When you print from your Macintosh computer, you have options to set printer options and then save them to a preset that allows you to choose the same options quickly.
Open any Microsoft Word document and start to print to your printer. In this example, we are using the CANON_BW_PAPERCUT.
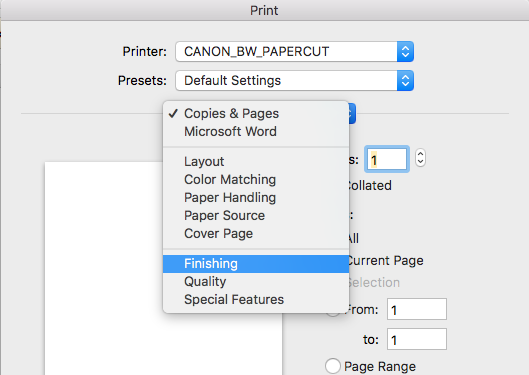
Click on the options bar--that line in the middle that says “Copies and Pages” to access your options… in this case, Finishing.
Choose the settings you want to save--2-sided and/or stapling:

Look at the top for the “Presets”, and select “Save Current Settings as Presets”

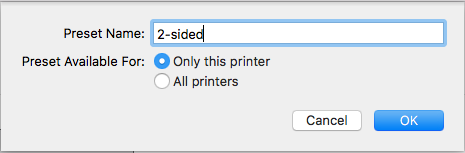
Give your shortcut a descriptive name. Leave it set for “Only this printer”
★ First time only – go back up to Presets and choose Show Presets... 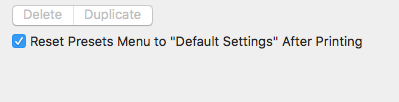 Check the box for Reset Presets Menu to “Default Settings” After Printing You can skip this step if you are sure that you always want to use this preset. |
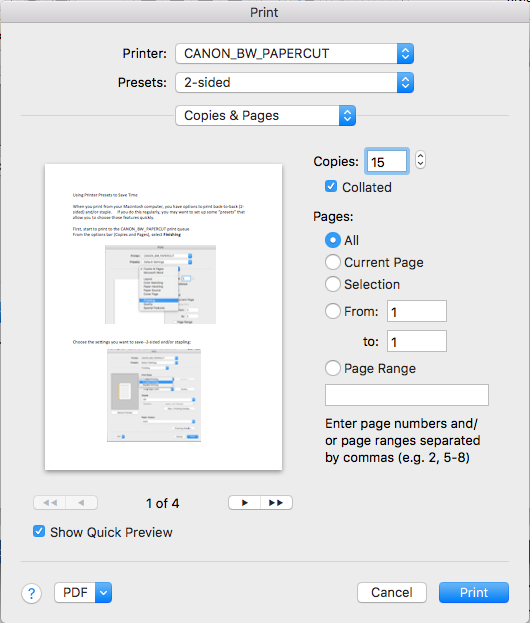
To print using presets,
- first choose your printer queue,
- then choose a preset if needed,
- then change the number of copies
- or make any other adjustments…
- then click Print.